

doglytdc-scripts command automatically does what the Configure manually page explains: it creates a connection key for each AI, writes the MCP configuration in the right place, and installs the Skill with one .md file per tool group. You do not copy or paste any keys.
Over the internet: chat apps (Claude.ai, Claude Desktop, ChatGPT)
Chat apps connect through the MCP address and ask you to sign in to DoglyTdc — no key and no terminal.- Copy the connector address from MCP connections on the site (or use
https://api.doglytdc.dev/v1/scripts/mcp). - Claude.ai / Claude Desktop: Settings → Connectors → Add custom connector → paste the address → Connect.
- ChatGPT: Settings → Apps & connectors → Advanced → turn on Developer mode; then Create, paste the address and choose OAuth.
- Sign in to DoglyTdc and click Authorize. The app shows up in MCP connections, with identity, approval rules and Revoke.
Paste into your AI agent
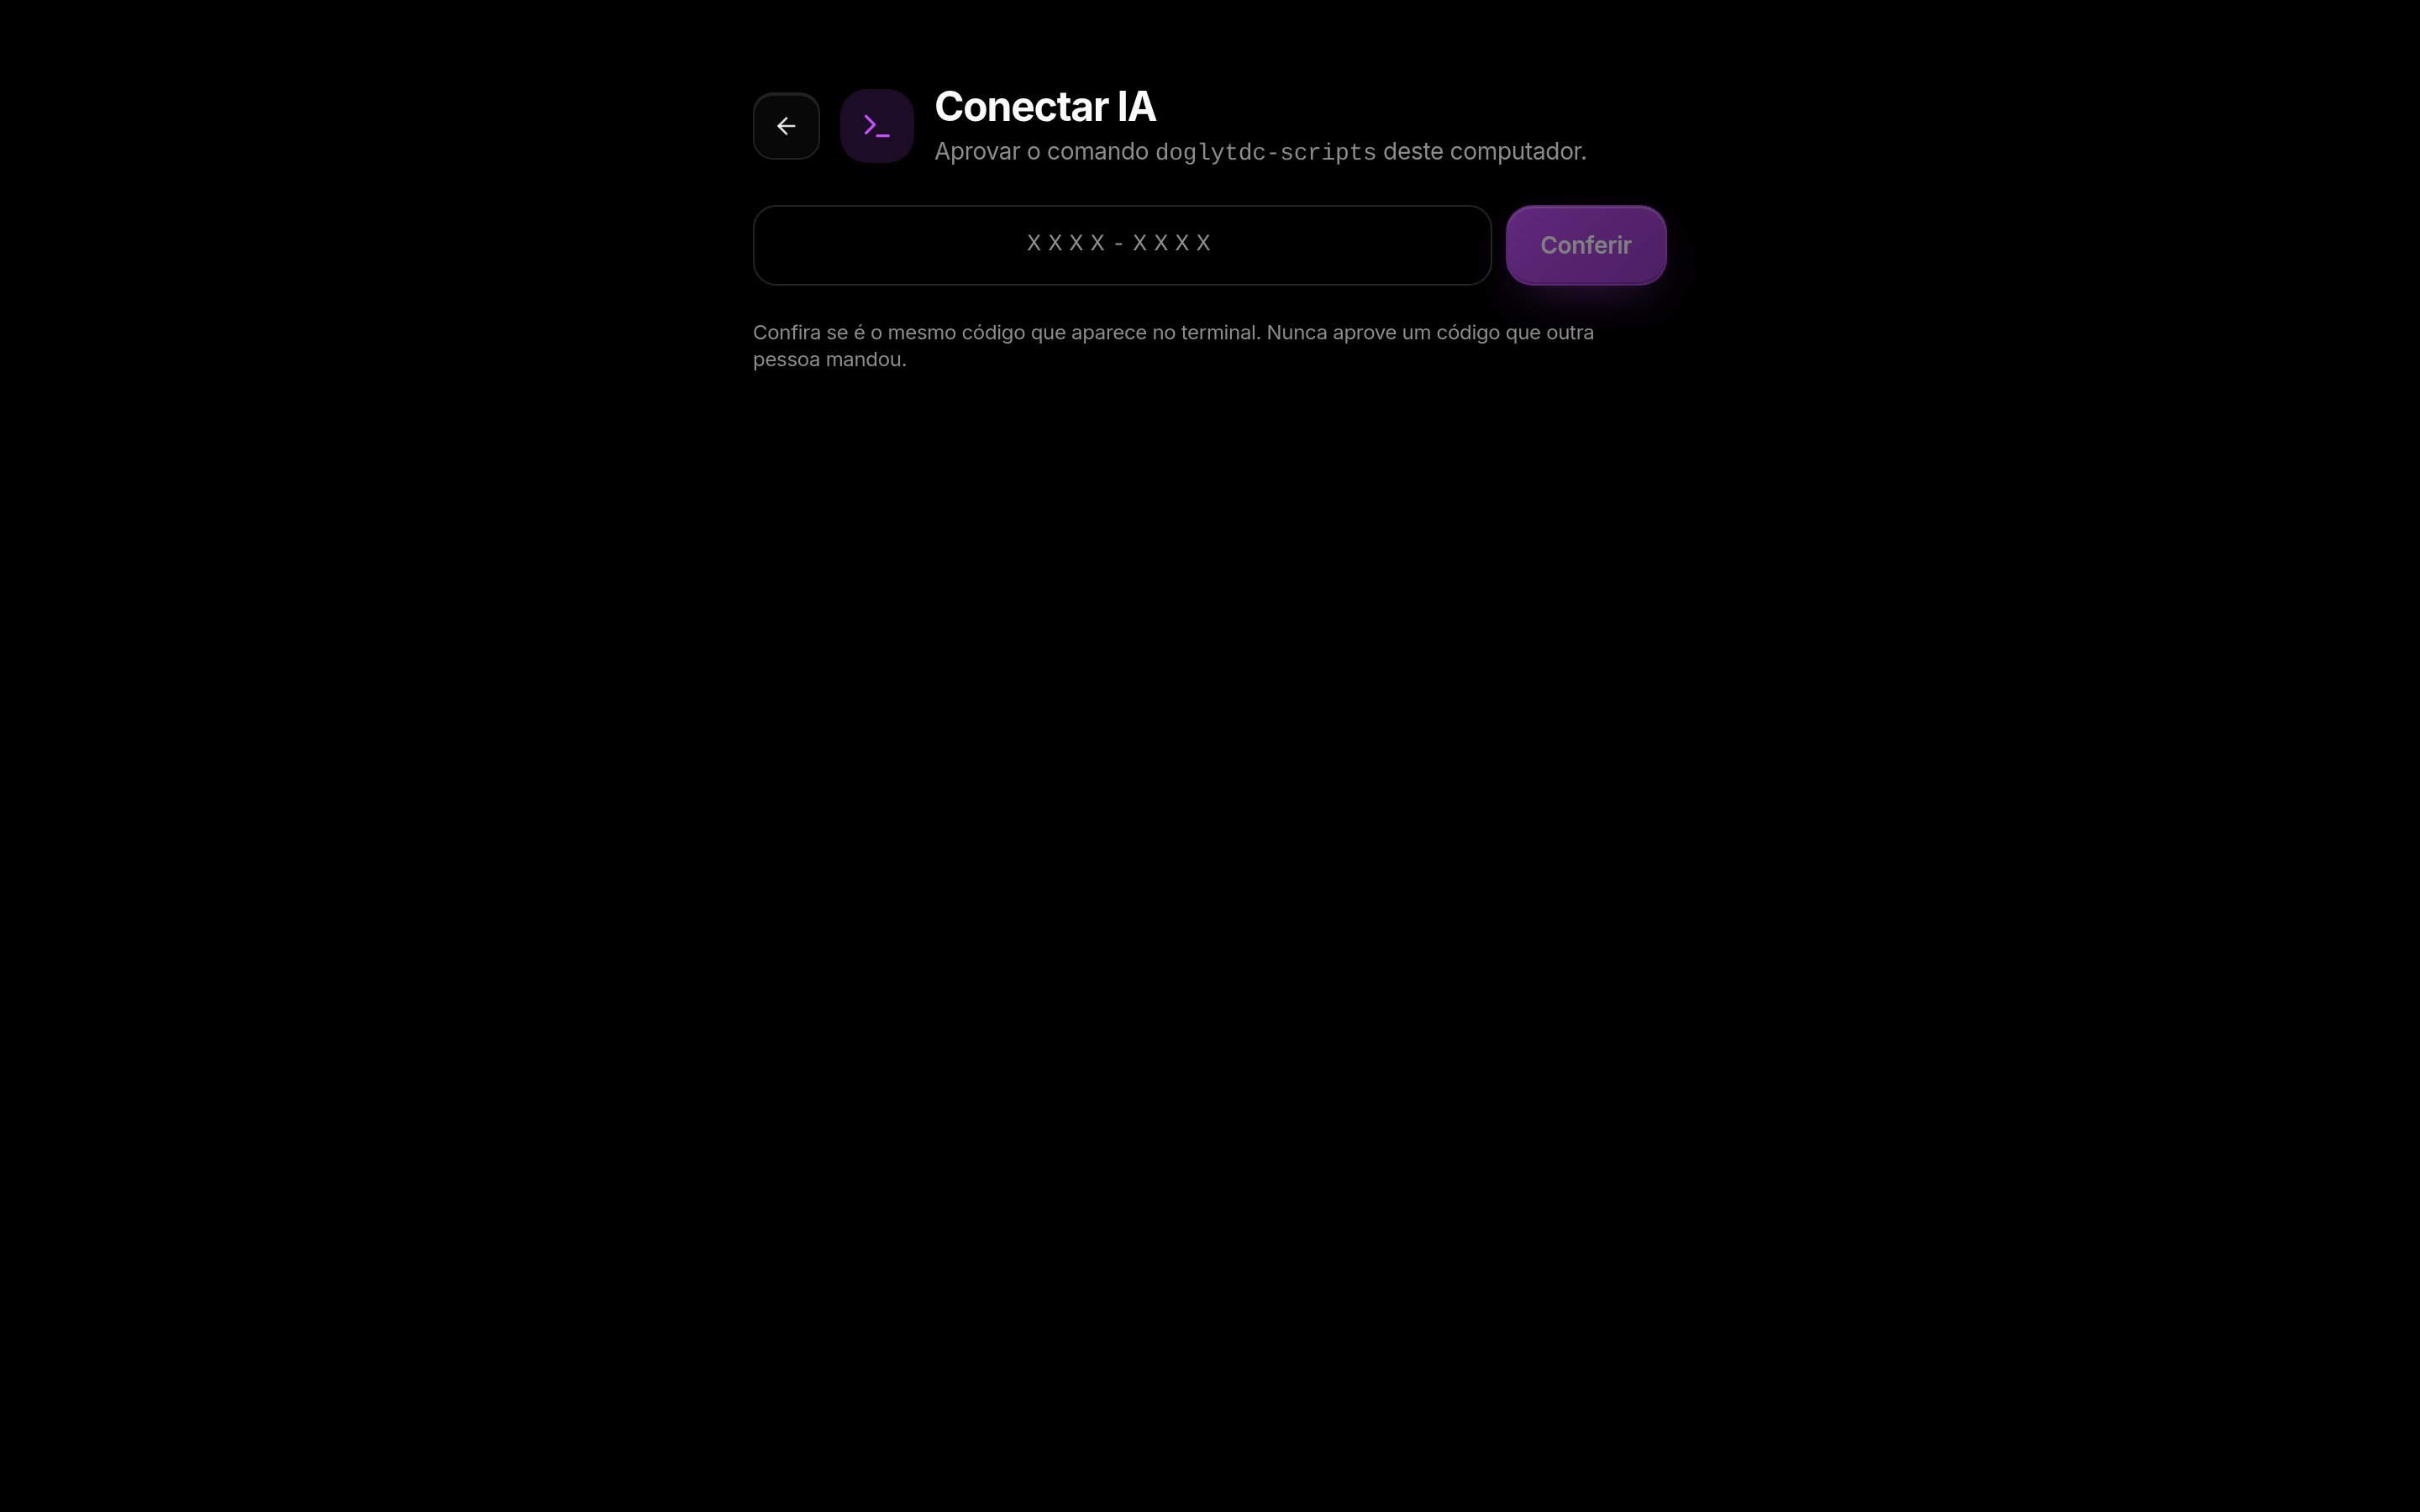
Approving the install command
Or run in the terminal
- Node (any system)
- Windows (PowerShell)
- macOS / Linux
Requires Node.js 18 or newer. No Node.js? Use Configure manually.
What happens
1
Plan
The command looks for installed AIs and shows exactly which files it will create or change. Nothing changes before your approval.
2
Approval
In the terminal, answer
s. Through the AI: it shows the plan in the chat and, once you approve, runs again with --yes.3
Code in the browser
Opens the DoglyTdc Conectar IA (Connect AI) page with an 8-letter code (e.g.,
BHKT-QXZM). Check that it matches the terminal, choose what the AIs can do, and tap Aprovar (Approve). The code is valid for 10 minutes and can only be used once.4
Installation
Each AI receives its own key (shown in Scripts › Conexões MCP (Scripts › MCP Connections) with the AI and computer names), the MCP connection, and the Skill.
5
Verification
The command calls
whoami with each AI’s key and displays your account. Restart the AIs to load MCP.Where everything goes
Cursor and VS Code rules are per project: they are created when you run inside a folder containing
.git, package.json, or doglytdc.json, or with --project. A copy of the Skill is always kept in ~/.doglytdc/scripts/skill/.
Commands
Options
Example:
Security
- The key never appears in the AI chat or terminal: it stays in
~/.doglytdc/scripts/credentials.json, with permissions restricted to your user account. - Codex and Claude Desktop receive the key through a variable (
DOGLYTDC_AUTH), not on the command line. - Before changing a configuration file, the command makes a
.bakcopy and only modifies thedoglytdc-scriptsentry. - Never approve a code someone else sent you: whoever holds the approved code receives the keys.
- Revoking a connection in Conexões MCP immediately disconnects that AI.